

When I tell people I have a podcast, there are a couple responses I get:
1. Wow, that’s cool. What’s a podcast?
2. How does that happen?
The “that” usually refers to the entire process of recording, editing, hosting and listening. The good news is that this blog post will talk about all the technical details of running a podcast show. I know I spent a shit load of time Googling and watching YouTube clips on starting a podcast. So this should save you some time, let’s do this…
Topic
Pick something you love, not just like but love. If you love something, it will be very apparent in the conversation. If I had to do a podcast on international taxation, I would probably kill myself.
USB Mics
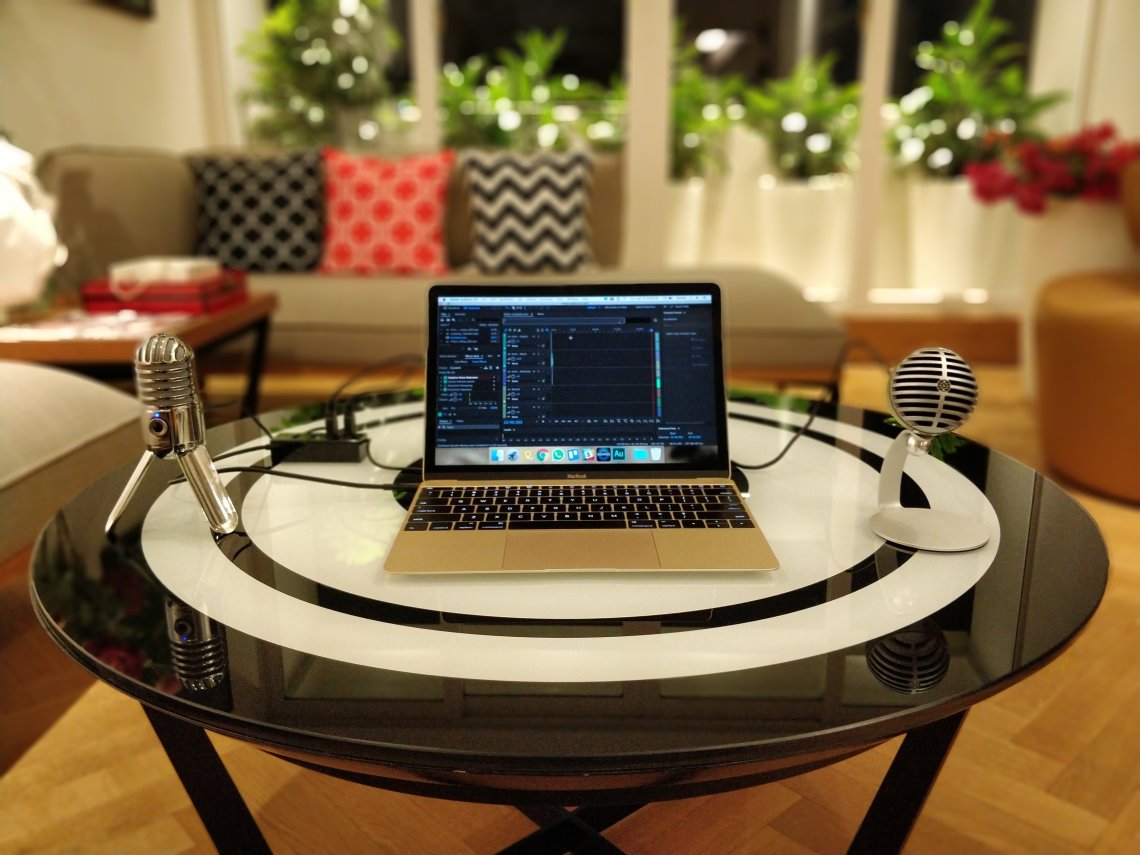
I really wanted portable USB mics because most of my guests and including me would not travel to a studio to record a podcast. The mic that everyone talks about on YouTube is the Blue Yeti mic, it’s great but it was a bit heavy at around 19.4 oz (550 grams). Since I would need two of them (one for me and another for the guest), that would be 1100 grams. Instead, I opted for the Shure MV5 (5.6 oz., 160 grams) and the Samson Meteor Mic (9.3 oz., 264 grams). These two mics are very good at capturing sound and for the price can’t be beat. Listen to my podcast and you can judge yourself.
USB Hub
I have a 12″ MacBook which is the lightest laptop at 920 grams that you can buy on the market today. The downside is that it has a single USB Type-C connector. Which means with 2 USB mics I need a Type-C hub, luckily Amazon has one under their AmazonBasics line for Rs. 1099.
At this point you must be thinking, damn this guy is only concerned about the weight of everything. And there is a good reason, I have a slight shoulder issue so the lighter the better for me.
Software
Once the mics are connected to the hub which is connected to the MacBook you need some software to capture and edit the audio. The technical name of this software is called the digital audio workstation (DAW). On the Mac there are 3 main competitors to choose from and I used all three – Apple’s GarageBand, Audacity (open source, meaning free!) and Adobe’s Audition.
I used GarageBand for 15 minutes and quickly realized it’s great for kids. Then as a true Marwadi (read as – cheap, err value seeker) I looked at the open source Audacity. It was really good but then I got side-tracked and started to use Adobe’s Audition and got hooked. Partly because of the number of tutorials on YouTube for Audition seemed much more. For any issue I faced, I would goto YouTube and there would be 10-15 tutorials on how to solve/fix my problem.
Podcast Hosting Service
Once you create the final .mp3 audio file from your DAW, you will need to upload it to the internet. There are many podcast hosting services but I stuck with the one that has been around the longest – Libsyn.
Podcast Submission
You will need people to find your podcast via the big directories like iTunes, Google Play, Stitcher, etc.. This article has the full details on that.
So there you have it, the podcast gear I use to create the Performalux Podcast. Now go on and let the world hear your voice!
